How To Organize Tiny Toys


Tiny toys like Polly Pocket, Barbie accessories, Shopkins, and the like can get overwhelming super quick, but let me show you how to organize kid toys like these tiny demons and help avoid your smaller children eating them.

Never say never, right? I always said my girl would never have those stupid tiny toy things. But then I remember being that young and how much I truly loved those stupid tiny things myself.
For Christmas this year, all Charlotte wanted were “Pelly Pockets”. We have tried breaking her heart to tell her that it’s actually Polly Pocket, but she refuses to believe us so it’s not worth the fight.
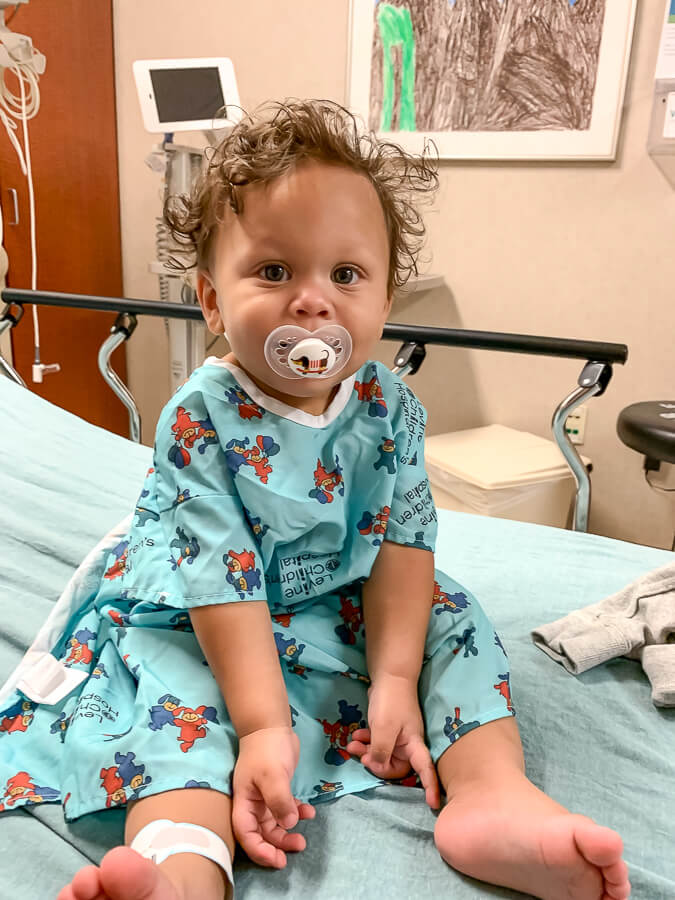
However, lest we forget, this photo was taken hours after he ate 32 plastic cherries from his sister’s Hi Ho Cherry O game so let’s just say I have been on edge with how we store and organize kid toys ever since.
I even created an entire shopping list of toys that your little boy CAN’T eat for this very reason.
Which means that I had to create a way to tame the tiny mess until we can get an actual, real long term solution in our soon-to-come playroom! I’ve been itching to use my Cricut again ever since I made my own logo T-shirt (which I still love, by the way).
How To Organize Kid Toys and Tame The Tiny Mess
Supplies:
- Storage container (We got ours from Michaels!)
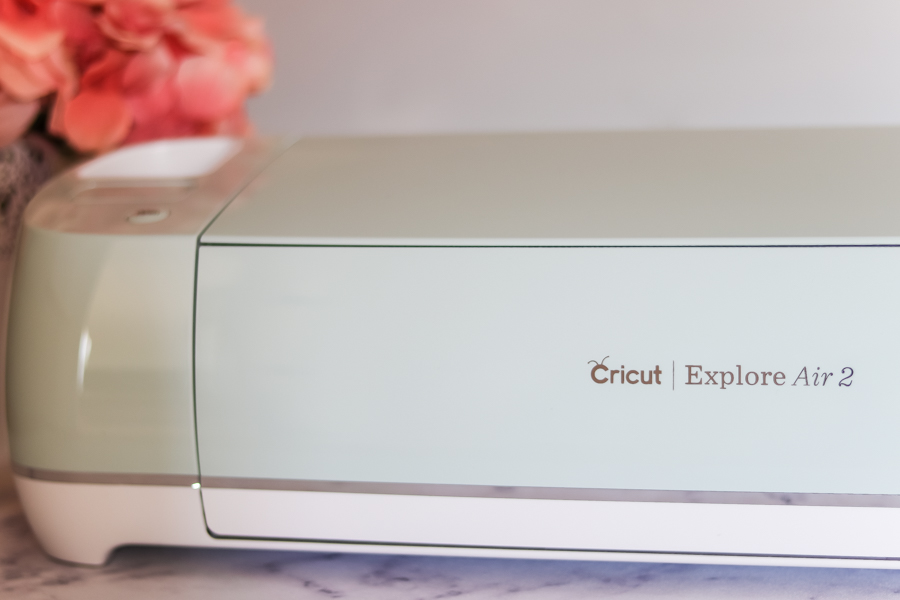
- Vinyl cutter (Of course by now you know we have the Cricut Explore Air 2)
- Adhesive vinyl in color(s) of your choice
Steps:
Little disclaimer here. I had so many high hopes and ideas for this project. I really did. And then some things just didn’t go my way and I’m actually kinda laughing about it but I didn’t want it to live on the blog. More on that later 😉

Our storage container is from Michael’s. We got 2 of them – one for Barbie et al. and one for Pelly et al.

In case any of you need to know which one to get, here’s the label so you can see exactly what we got.
Pro tip: Their stuff is always 40% much like Hobby Lobby, but at the beginning of the year is the best time to get storage and organization stuff like this because as you guessed, many people are out in these streets just trying to purge and organize everything.

I spent a couple minutes in the Cricut Design space designing the text for the outside of the bins. I also found the little Barbie head logo for her Barbie storage bin to organize those tiny toys that come with Barbies too. Like her shoes and forks and dog bones and more shoes and also the one shoe because we can’t find the other. Oh and the soccer trophy because…there’s a soccer trophy. 2 actually.


Once you’ve done your designing, chose the vinyl setting and load in the matte white vinyl paper on your cutting mat.
This Cricut is almost too smart for its own good. It recognizes when it’s plugged into your computer. Then it tells you on screen exactly what buttons to push.


It’s great! So super easy to use.

I cut out the vinyl, removed the “negative spaces” and used some transfer tape to transfer her name to the outside!
STORY TIME! (I promise it’s not boring and you’ll laugh…)
Now, listen to me. I’m not going to lie. I can’t believe I wanted this to be a mostly small craft, small project blog in my head when I first started nearly 3 years ago. I would NEVER have survived. This project should have taken me 30 minutes and it took me almost THREE HOURS. Why?
Transfer. Tape. I don’t know what it is, but I have NEVER had good luck with it. Never. When we made the sign for our guest bathroom door I used transfer tape and it was awful.
I made some really cute little words for the inside of each of the storage slots. They are not shown because I could not get them off the transfer tape. I sweated. I swore. I threw things. I dang near broke my little pusher downy tool thing that helps you get it on the transfer tape in the first place. It was a nightmare.
So, please, if anyone of you out there are a transfer tape connoisseur please, PLEASE hit me up somehow and tell me what I’m doing wrong. I’ve tried different kinds of vinyl, different kinds of transfer tape, the whole 9.

So, notice how that’s off center? Wasn’t supposed to be! There’s an apostrophe and an S missing….that WOULD NOT COME OFF AND SO I JUST THREW IT AWAY WHILST SCREAMING.

I was at least able to get the cute little Barbie head on this one! So, at least we will have some semblance of organized kid’s toys around these parts.

Here’s the one with her Pellys in them. Do you guys see how tiny these are???? And then check it out in the longer part right underneath her Pelly dolls is that little white thing.
No. Not a grain of rice. Just a friggin’ BABY FOR THE MAMA PELLY. So like, how small do you even think that is?! Rice. A grain of rice. Not even long grain. We talkin’ Uncle Ben in here.

Here we have 3 complete sets of shoes and then some random kitchen stuff from the Barbie Dreamhouse. Tiny toys. Tamed! How to tame your tiny toys. Tamed tiny toys. Say all that 3 times fast. You’re welcome.
Trust me when I say there is so much more about this project not here because it didn’t go my way and there was a lot of sweating involved. BUT my email list actually gets exclusive, behind the scenes shots as well as stories to elaborate on said shots. And it will make you laugh and/or be really thankful you aren’t me lots of days. I’d love to have you join in the fun! Just sign up below!

A big thank you to Cricut for partnering with me in this post. As always, I only work with brands I love and recommend things I fully support!