DIY Wood Shelves


An easy way to get rid of wire shelving in your closet, these DIY wood shelves can spruce up your closet on a budget and give it a facelift!
I don’t really know what it is about the Smiths over here, but we love a good shelving unit. I think it has to do with the fact that by adding some custom shelves or floating shelves somewhere (like our kitchen or laundry room for example) you can really transform a space and you don’t even really have to spend all that much money.
Well, wouldn’t you know it that once again, we are back with more shelves. Closet shelves this time!
If I’m being honest, I really just wanted to buy some out of the box closet system that would work in this space, but I also was trying to be strategic with storage in here which meant that it was going to have to be custom. Meh.
So, here we are with another tutorial for another type of wood shelves.
DIY Wood Shelves For A Closet
*Some affiliate links may used for your convenience
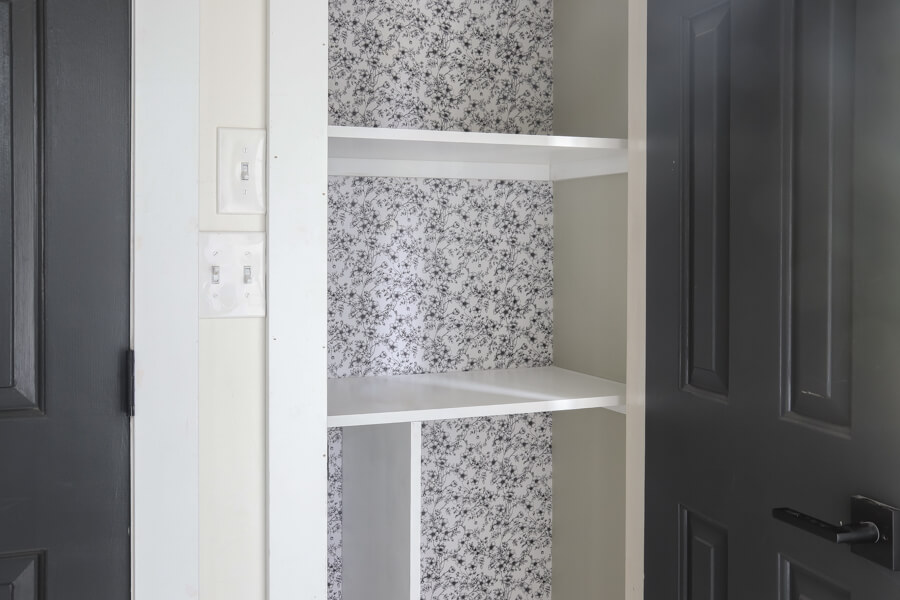
For reference, our closet is 32 ½” wide and 20” deep so these shelves are cut and made according to that.
Supplies:
- 16” wide ¾ MDF shelving boards
- 1×2 pre-primed board
- Paint (We used leftover white that we have used to paint all our trim which is SW Extra White)
- Caulk to finish edges and seams
Steps to create DIY Wood shelves
First, you’ll want to measure the height at which you want your shelves. Some things to take into consideration when you’re making your shelves – make sure that you think about whether or not you can clear the door casing. Yes, you don’t want “unused space” at the top of your closet, but in the same breath, if you can’t put anything on the shelf because you can’t get your chubby lil’ hands up in there. Speaking metaphorically, of course.

After the height is measured, then you’ll cut your 1×2 pre-primed board into shelf brackets which is where the pieces of wood for your shelves will rest. Again, the size will depend on the size of your closet. Make sure that when you attach them to the wall that you use a level so you will have shelves level as well. That’s that long orange thing you see on the shelf there.

Next, cut your MDF to length. For our very top shelf, we actually did a 3/4 shelf. So, it extends the length of the closet, but the width is half of our other shelves. It’s only 10” instead of the full 16”. You don’t have to do this, but it was a way that we could add the top shelf a little bit higher. I knew that I wanted to store our cooler backpack and grocery cooler bag on the top shelf to be out of the way and it only needed to be 10”.

Then, you’ll paint the shelves the color of your choice. Might I suggest one of these mauve paint colors? Let me live vicariously through you!. While those are drying, go ahead and fill your nail holes and edges where the wood brackets meet.
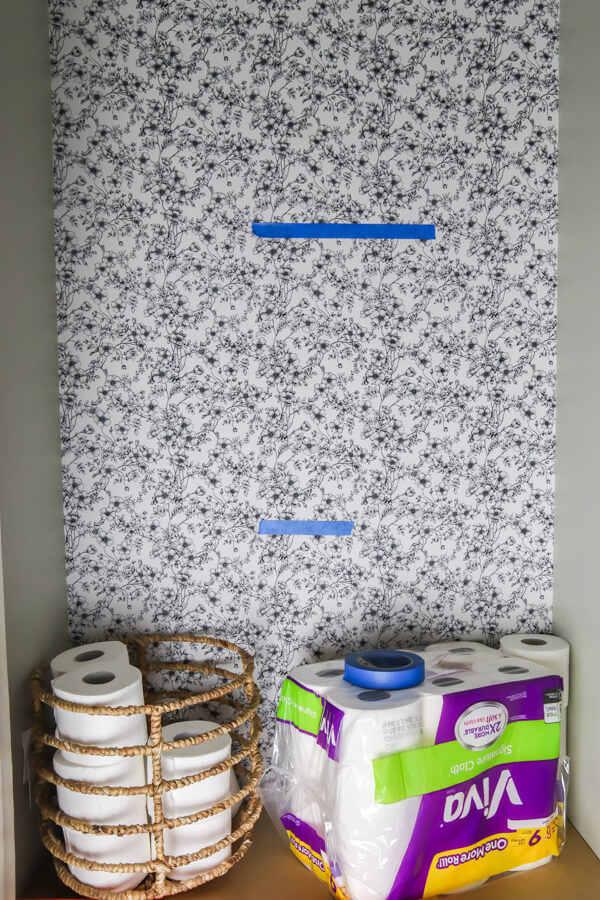
Psst. I asked my email list after I did this awesome faux wallpaper wall what color shelves we should do. I wanted black shelves SO BAD, but an overwhelming majority of you said white so I gave you people what you wanted. If you want input on home projects, you should hop on the list and get first dibs. Not sayin’ I’ll listen to you because I’m, well, me, but still.
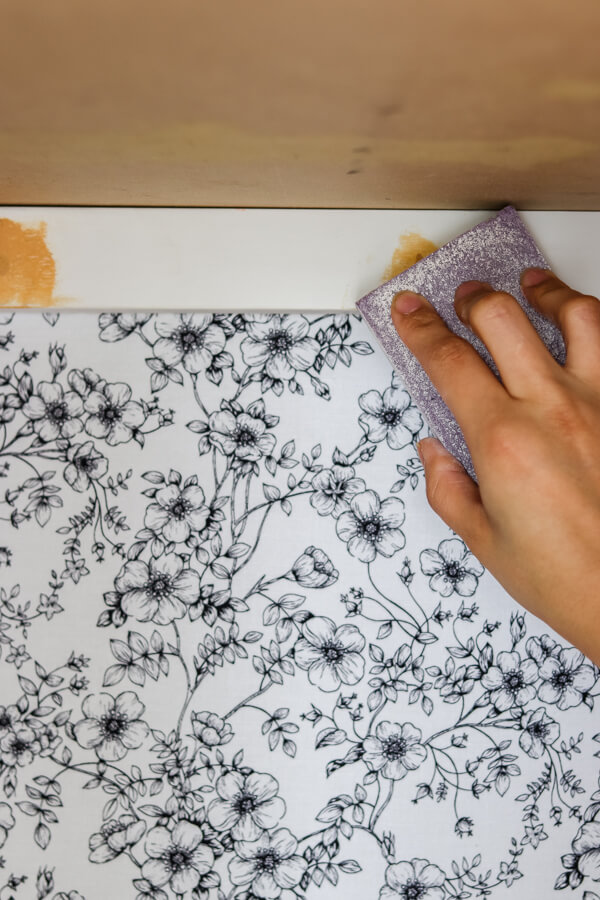
Sand the filled nail holes and then do some touchup paint.
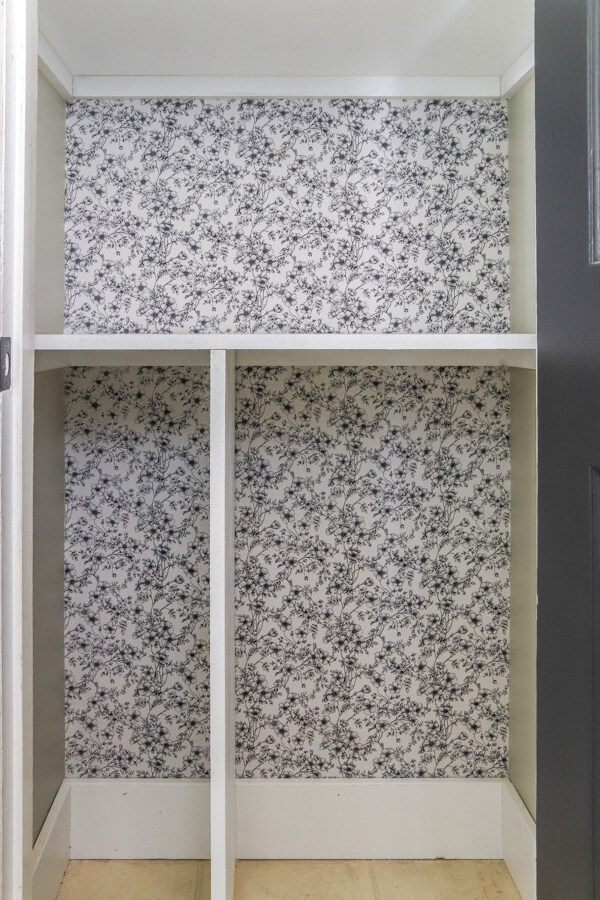
You can then add your wood shelves back on the wall brackets. As an optional step, you could add wood glue to reinforce, but we didn’t. We did caulk seams and no wood glue.

When I photographed our guest bathroom, I said that was the hardest room to photograph. Then when I had to photograph our laundry room, I said that was the hardest room to photograph. But, seriously. This is probably the hardest room to photograph. Because it’s directly across from our laundry room and there’s a huge wall so I can’t get a dead on shot of it unless I knocked a wall down.

So every shot is from an angle but whatever. You can hopefully get the idea of it! What I love is that these DIY wood shelves are made with no fancy tools! No kreg jigs, no pocket holes! Just good old fashioned wood and screws.
You could use this same technique whether you had reclaimed wood, scrap wood, plywood or MDF like we used!
I think when it comes to our own master closet that we will hopefully be making over soon, we will do something similar to this except of course adding a space for hanging rods and clothes organizers. I really wanted to do a Ikea Pax wardrobe hack, but the dimensions of our closet won’t allow for such. Ugh.

Different story for a different post. Now all I need are some dang baskets to organize my cleaning supplies. And fast because I need to have them accessible for all this COVID madness.
I mean, is it just me or is the best part of making over a closet the closet organization that you get to do afterwards?! So, if anyone has any recommendations for super cool baskets to store stuff in, let me know. Target, Amazon, Wayfair have all let me down.


This is a great tutorial!!!! Thank you! I do have a question. I am trying to do this same concept in our entry way closet. I want to attach shelves like this and create a shoe rack with out actually purchasing one of those metal racks! Did you attach your wood shelf brackets into the studs?
Yay! I’m so glad this worked for you! YES! We did attach to the studs and if they were in a place where we couldn’t get it into a stud we used toggle bolts for added security.